
This post may contains affiliate links. If you click and buy we may make a commission, at no additional charge to you. Please see our disclosure policy for more details.
Deer hunting is as popular as it gets among hunters, with deer season stretching several months in most regions. However, deer hunting season is limited as the deer will stop passing after a certain period. You have to utilize the short window by hunting efficiently, and one of the first setups to put in place is your deer blind which hides the shooter and allows for stealth hunting.
Deer blinds come in varying shapes, sizes, and designs and often depend on the hunting location, among other factors. All these affect the type of deer blind to build. You must decide if you want a temporary blind or a more permanent structure.
How do you build a deer blind for your hunting expeditions as a DIYer, especially if you have limited experience? This guide contains several deer blind plans from which to choose. However, before going ahead with any plan, you must consider your intent, space, and location, which will help you make the right choice.
Table of Contents
If you prefer to build rather than buy a deer blind, this guide will show you interesting plans with detailed steps to build any. Here are effective deer blind plans for your expeditions:

Here is a stable deer blind you can build for under $300 using 2×2 and 2×4 lumber for the frame and OSB sheetings. The project utilizes zinc-plated metal sheets to reduce the overall weight of the project. It is easy to build and can be completed by an intermediate-level DIYer.
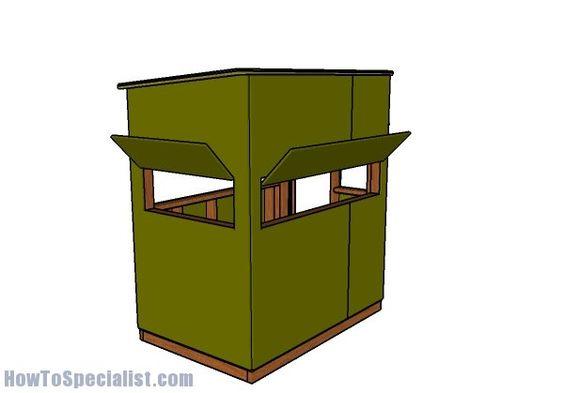
The 5×5 deer blind delivers a square area, spacious enough to accommodate two shooters, with a shooting window on three sides, giving the hunter access to the deer while maintaining cover. The stability is due to the durable frame built and a floor that ensures it can stand alone and not crumble with strong winds.
Ensure to paint the stand’s OSB sheets with dark camouflage colors, allowing it to blend in without rousing the deer’s suspicion. The shooting window height provides comfort as you can comfortably sit while stalking your prey. Since the stand is not built into the ground, you can move it to a different location; however, this would require several hands and machinery.

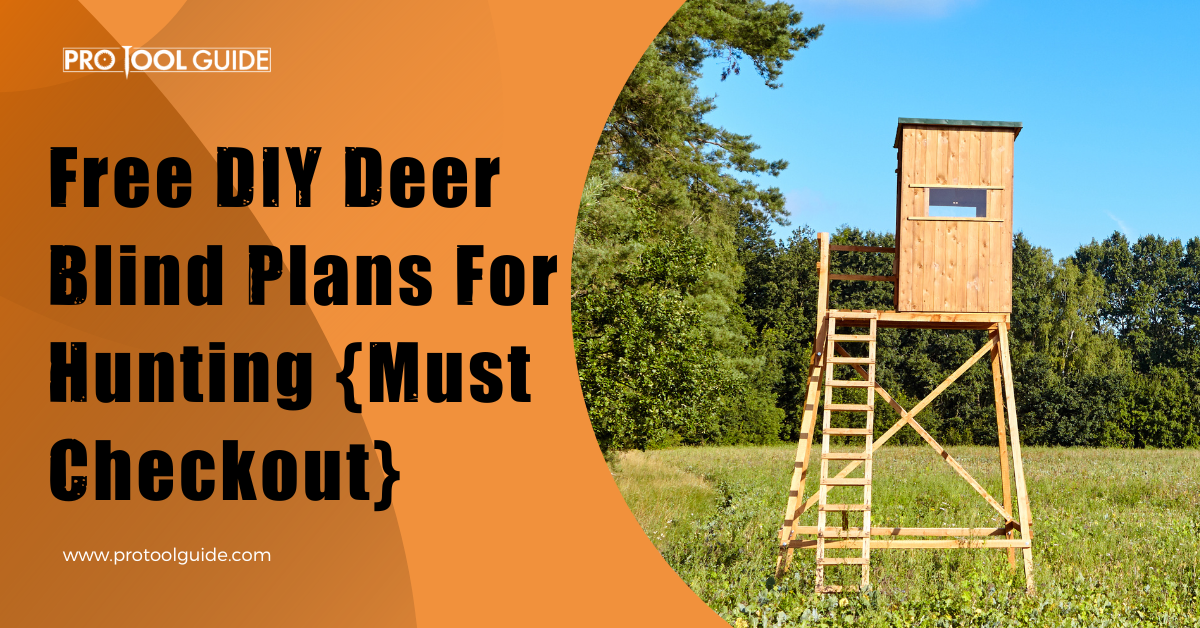
A deer stand significantly elevated above the ground like this plan will provide a farther and clearer view of your target through minimal vegetation. It can sit in the hunting field and provide uninterrupted access to all sides.
The major feature this simple deer plan has going for it is the elevated platform it rests on. Accessing the stand is through an attached ladder fixed at an angle that makes it easy to climb. The comfort of the ladder is especially vital when holding a bag which will be a common occurrence when setting up your expedition.
The elevation is under 6 feet off the ground which is a decent height to see a considerable distance while maintaining stability. Treated 2×8 lumber for the frame and 5/4 decking boards to cover the floor will provide a durable stand with good moisture resistance. Recycling wood like old barn materials and aluminum sidings cover the frame to save cost.

Slightly off a square deer stand is this 5×6 structure built as a deer blind for your hunting. Start by building a frame using 2×6 lumber before using ¾” plywood sheets to cover the floor area. Utilize water-resistant plywood to improve the durability of the stand.
The plan utilizes 2×4 lumber for the wall frame, with the window offering access. You can adjust the size or position of the window around the deer blind to suit your needs. The door is at the ball wall and should open to the right so it doesn’t block the window.
Use ½” plywood to cover the door and wall frame, freeing the window area. The hip roof pattern is slightly more complicated than most deer stands but offers more stability. Paint the stand to complete the camouflage and make it difficult to spot.

Here is a long deer blind perfect for a group of friends for their deer hunting expedition. The space is wide enough to accommodate more than two shooters. It uses metal bars to make a sturdy frame for this elongated stand, which increases the weight.
Durable, weather-resistant OSB sheetings cover the walls of the project. The frame has 2×4 lumber and ¾” plywood for the flooring and walls. This large project will take up to a few days to complete but will be worth the effort.
To complete the stand, you’ll need brackets, 2½” screws, 1⅝” screws, a door latch, door hinges, a tape measure, a hammer, a framing square, a level, a miter square, and safety gear. Ensure to lay tar paper before roofing with asphalt shingle to improve water resistance and ensure the blind last longer.

This tree stand sits high up on a tree stem and provides the perfect cover from where you can hunt deer. The height makes it possible to see a far distance while the tree branches offer cover. Nevertheless, the deer blind sport covers on its sides so you can remain hidden while hunting.
Start by building a long ladder to access the height you want to place the tree stand. The height of the stand means the ladder may be almost upright to keep its durability.
You’ll need wood beams, screws, plywood, nails, and a hammer. Choose a suitable tree that is tall and straight while possessing only a few branches that’ll not hinder your climb. When choosing the position high up the tree to place the stand, select the beginning of two strong branches, as it can carry the weight of a small stand. Depending on the size of the project, you may build the stands on the ground and then raise them to the top.

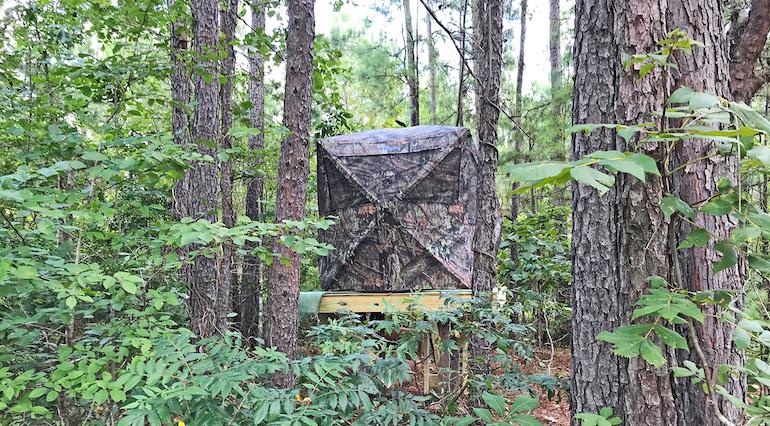
This plan is from a repurposed shooting stand and uses elevated lumber to build the new deck. Its hub-style ground blind accommodates up to three shooters, although the back area is completely covered. Sitting on this elevated stand, you can see a farther distance, covering more area during your deer hunt.
Purchase a suitable mossy oak camouflage cover; however, the cover comes with its frame, which makes it easy to set up. The covering matches the woods, hiding the stand from deer.
The cover is not the most secured and can be easily blown off by strong winds, so it is best to place it around trees that can break the force of the wind. You can pack the cover after hunting while leaving the deck till when required.

Here is a deer plan with two hunting layers, one with only a deck area and a properly build blind higher up. The idea is to provide an elevated platform for quick shots behind the protection of shrubs and a higher area with proper cover so the hunter can view a wider area.
The plan features five sections, including the materials list and cut guide, building the ladder, building the bottom layer, building the top layer, and finishing the top layer. The detailed instructions include pictures as a guide as you build this complicated blind. It involves experience DIY enthusiasts to complete.
The base lumber should be straight, free from defects, and large enough to carry the weight to ensure stability for this double platform. The tree also supports the stand and takes a huge part of the weight off it, increasing its durability.

A deer stand measuring 4×6 may be small, but it can accommodate up to two hunters inside the space. It features window covers so you can close windows not used at a particular time to improve your stealth.
Get thirty-four pieces of 6′ long 2×4 lumber, 4d and 6d nails, a stand bracket, four pieces of 8′ long 2×4 lumber, ¾” plywood, wood glue, wood filler, and paint. Get the miter saw, jigsaw, drill machine, drill bit, tape measure, and spirit level. You may already have some of the tools required for this project and may have to purchase or rent the tool, not in your connection.
Here is a simple project you can complete in a say with the right experience and helping hand. Cover the frame with plywood before proceeding with other project sections, like walls and roofing.
Deer season is a highly anticipated period hunters do not want to miss, which is why it is even more essential to get a good blind that will allow surprise the deer. Utilize deer blinds carefully painted or hidden in the woods with the right comfort for perfect shots.
| Check Out These Articles | ||
|---|---|---|
| DIY Wooden Box Plans | DIY 5×5 Deer Blind Plans | DIY Plywood Countertop Plans |
| DIY Mailbox Post Plans | DIY 16×24 Pole Barn Plans | Free DIY Jewelry Box Plans |
| Awesome DIY Wardrobe Plans | DIY Generator Shed Plans | Attractive Lean-to-Shed Plans |
| DIY Greenhouse Plans to Build | DIY 10×12 Shed Plans | Free Bike Shed Plan |
| Free DIY Jewelry Box Plans | DIY Shoe Rack Plans | 10 Cool DIY Sauna Plans |
| DIY Duck Blind Ideas | Teardrop Trailer Plans | DIY Floating Bed Frame Plans |
| Cheap Patio Paver Ideas | Beautiful DIY Ladder Shelf | 10×10 Shed Plans to DIY |
| DIY Hall Tree Plans & Ideas | DIY Garage Shelving | DIY Carport Plans to Build |
| Easy Homemade Bar Table | DIY Dice Tower Plans | Free 8×10 Shed Plans |
| DIY Whelping Box Plans | Barn Door Plans – Build | Awesome Round Picnic Table |
| DIY Guitar Stand Plans | DIY Chicken Coop Plans | DIY Wood Gate Plan |
| DIY Dartboard Cabinet Plans | DIY Murphy Bed Plans | Excellent 12×16 Shed Plans |
| DIY Queen Bed Frame Plans | Modern DIY Adirondack Chair | Amazing 10×16 Shed Plans |
| DIY Dreambox Plans | DIY Kitchen Cabinet | Gable Shed Plans |
| Potting Bench Plans | DIY Built-in Entertainment | Simple 2×4 Bench Plans |
| Amazing 8×12 Shed Plans | Amazing 16×20 Shed Plans | DIY Mailbox Post Plans |
| Shed Plans and Ideas | Amazing 12×24 Shed Plans | DIY Bird Feeders |
| Best 10×20 Shed Plans | DIY Spice Rack Plans | Best Shed Plans & Ideas |
| DIY Greenhouse Plans | ||